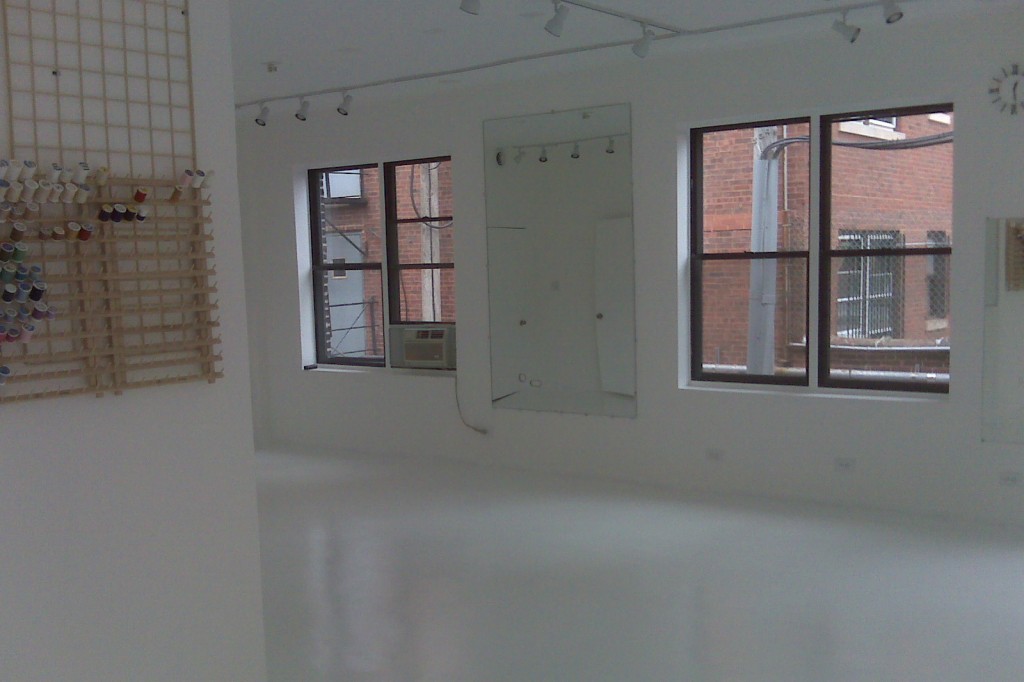
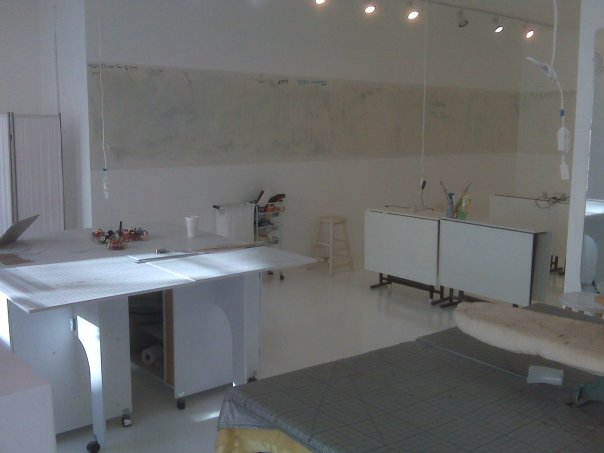
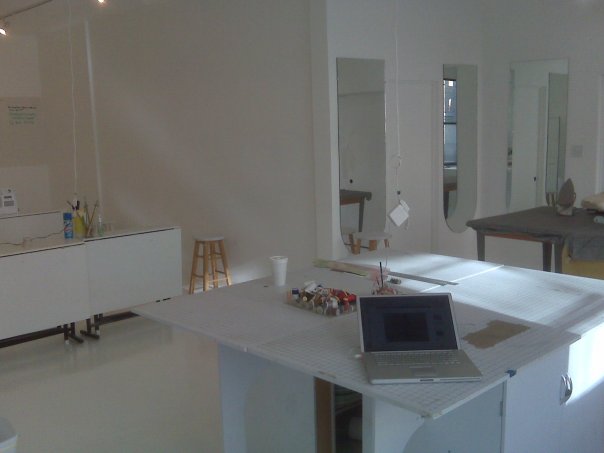
One of Our Most Interesting Projects

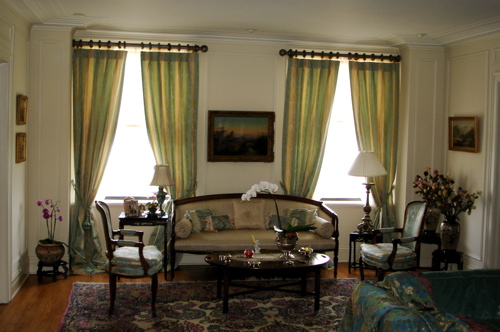
One of our favorite projects was this drapery job.
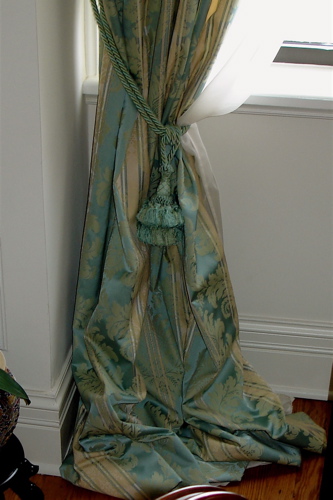
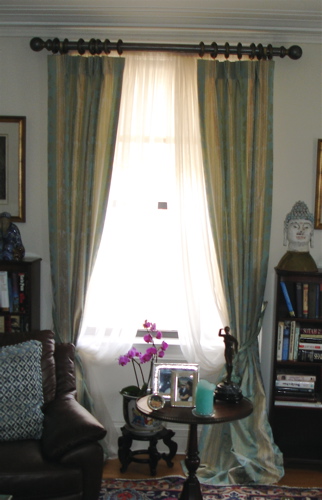
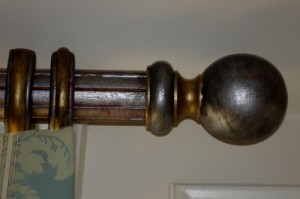
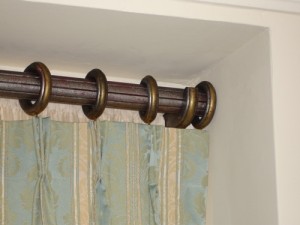
Our client showed us a 16th-17th century wooden candlestick that had been turned into a table lamp and said that she would like to have rods and rings that matched the piece as well as nice formal drapes for her Lake Shore home.

She ordered the fabric from Italy – a nice silk damask, and we got to work.

The wood is oak. We began by distressing them and then soaked them in tannins for a month. When we pulled them from the vat, we distressed them some more and covered them in ochre ground.

Three layers of silver paint, lots of lampblack and grime, and some more distressing gave them a nice feel.

We suspended the silver in purified linseed oil mixed with a bit of aluminum powder. This way, the finish will develop a bit of patina as it ages, but should remain fairly bright. The gold is a gilt paint we made with gold leaf ground with a mortar and pestle and suspended in the same artist-quality purified linseed oil. To keep the rings sliding easily, they were waxed after being installed

The drapes are standard pinch-pleat panels that have a 10 inch pool. Lined with pima cotton and hand finished at the hems and edges, this was some of our best work.

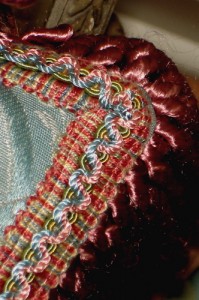
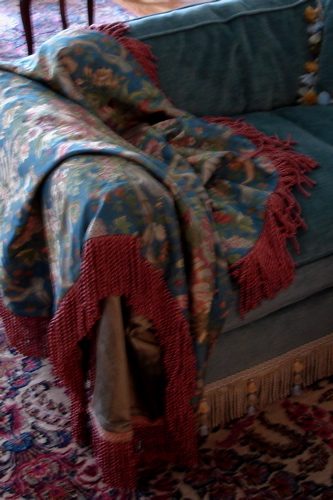
Some pictures as we worked:

After we were finished with the drapes and rods, we were commissioned to make some softlines with leftover fabric and antique fabric that she had collected.

Oh, All of That Old Boarding House Furniture.

The question when you are dealing with old furniture is just how far you are going to go with restoration and refinishing.

In this case, it wasn’t any concern at all.

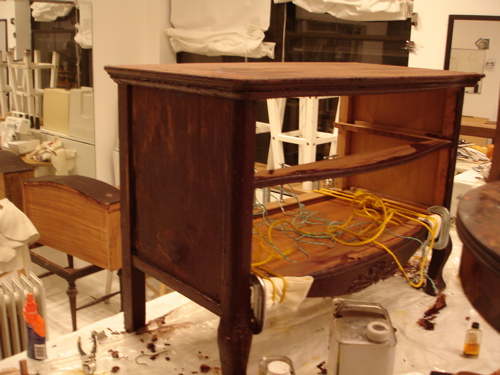
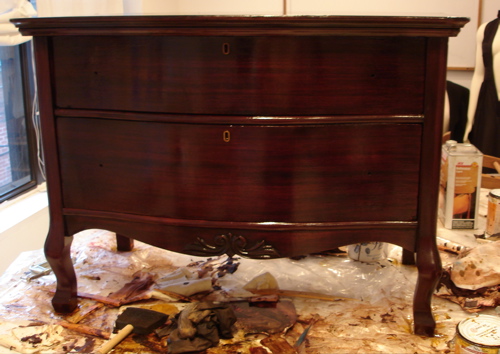
What we have here was a broken-down piece that was at one point in time a nice piece… for a lovely boardinghouse.

We tend not to strip things outright and rarely touch anything with sandpaper. The trick, in our opinion, is to be sensitive to the piece while making it something you can live with.
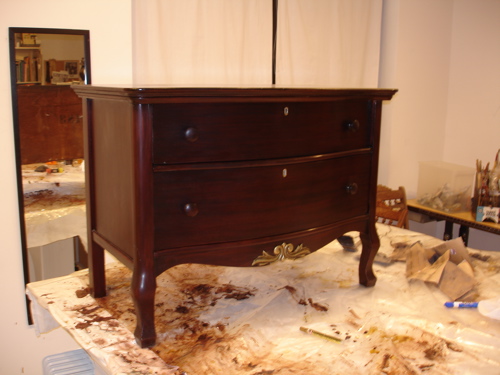
In this case, we rubbed it down with #0000 steel wool about 10 times to buff out the scratches and then cleaned up some of the details with alcohol. When we were finished, we began a series of super-thin shellac coats (about a 1 Lb. cut, if you are curious about these things) that were tinted with an 80 year old supply of VanDyke brown pigment.

After a little gilding and repair to the decorative scrolls on the front…

But it turned out all-right, considering it was literally on its way to the burning pile.

Repurpose in a Way No One Could Have Guessed.

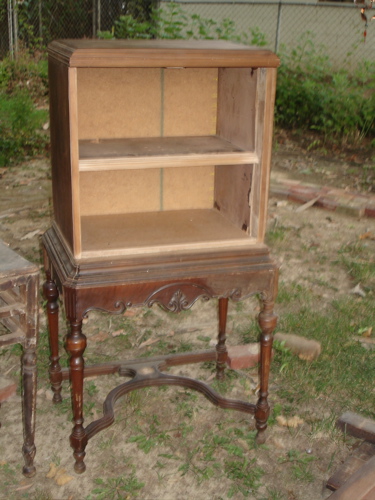
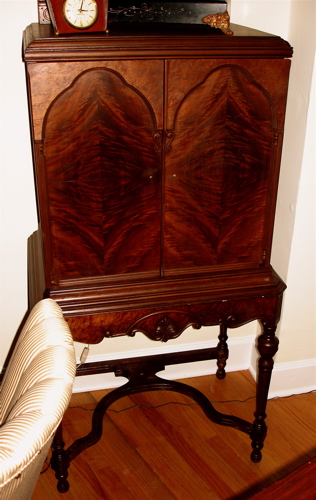
Radio cabinet repurposed as computer/home electronics storage.

This radio cabinet, a 1920s version of William and Mary, was abandoned and on its way to the ditch.

After fixing the walnut and burl veneer, reattaching the doors, and buffing it with our old friend #0000 steel wool, we had a serviceable cabinet that is used to house all of the wifi and computer equipment in the house.

We like the idea that this cabinet once held what was the apex of communication and information technology…

And it still does!

As an aside, this may be a project we get to revisit as the owner has been saying that he would like to have a small flat-screen television installed in it that folds out from the case.

Wy Would You Buy THOSE Chairs?

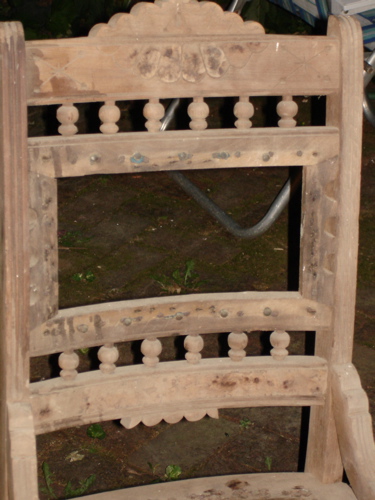
When we first saw these walnut chairs from the 1880s, we felt a little sad. The story was that they were abandoned to 110 years in a barn because they were too difficult to dust. And there they sat.
By the time we got hold of them, the red and bottle green velvet upholstery was gone completely and the springs were rusted out.

They needed some love.
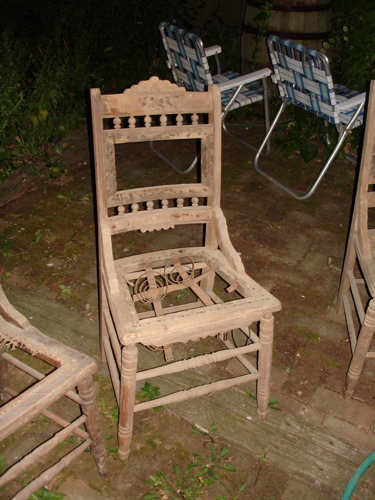
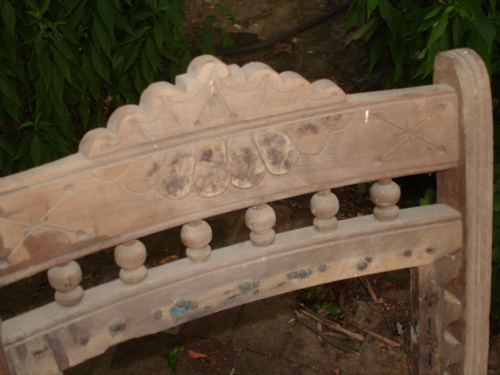
All of the finish had baked off over the years, and what was a nice walnut was now unidentifiable under years of dust and animal droppings.

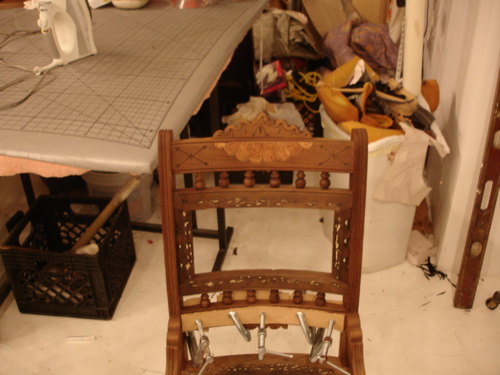
When we got them up to the workroom, the first thing we had to do was stabilize them. The glue that held them together had been eaten away, so our first step was to take them apart and label them. Once we had the pieces cleaned and had brushed them with just a bit of hardener, we began the regluing and clamping process.
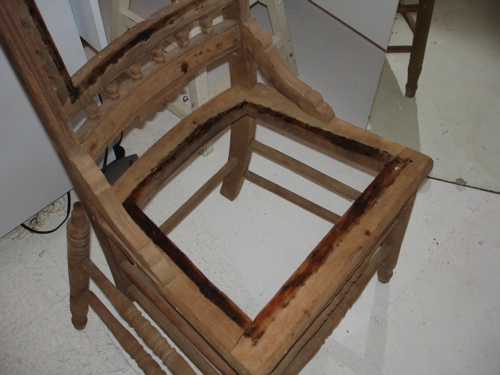
The seats had twisted a bit over the years, so we left the weight of three to four cast iron sewing machines sit for a month in high humidity to correct their warping.
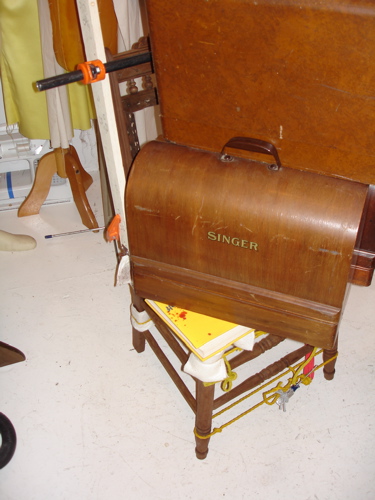
When you are dealing with furniture this old and this abused, you can pretty much forget about it ever (EVER!) being square and true. You want something that comes close, but don’t force it too hard or the wood will shatter.

After we were satisfied with the glue, we used our stash of antique walnut to make a wood putty from linseed oil and shavings. Most of the tacks and nails had to be very gently drilled out because they had rusted into the cells of the wood. Once these were dealt with, the holes were filled.
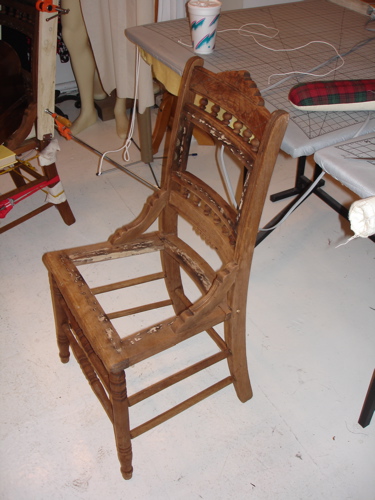
We began fixing the burl on the top and slats of the back of the chairs. The old burl wasn’t salvageable, but we have a small stock of 19th century burl we use on small jobs like this.
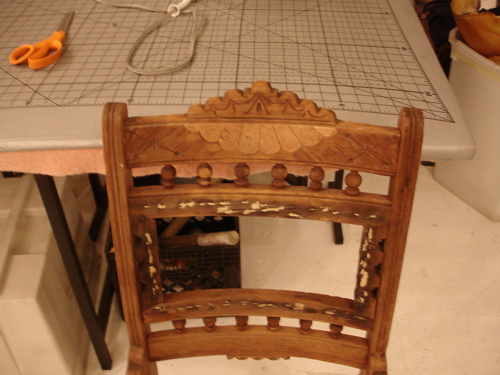
If you look really closely, you will see the differences in the turnings on these two chairs – this was original to the set. When they were being glued together 100+ years ago, somebody screwed up and set the turnings upside down, so when we were reassembling them, we took note and kept them that way.
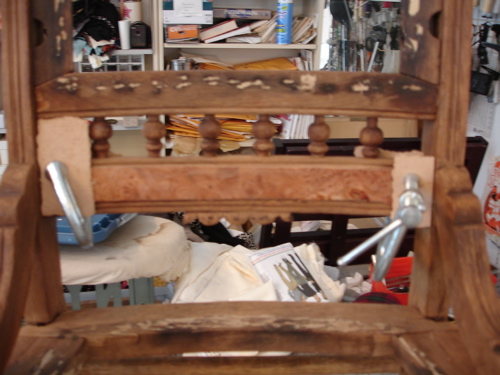
Once the burl was in place, trimmed, and everything was set, we buffed the entire chair out.

Now. We would have preferred to use a shellac for the finish, but the wood was too soft. Usually walnut will take a shellac finish beautifully and you will have a quick, easy and legitimate (the original finish was a shellac) finish.

In this case, the structure of the wood is so damaged that shellac would crumble under use unless we were to do some heavy sanding.

So we decided to use linseed oil, which is a lovely finish, but takes forever.

We started with a 2/1 cut oil/mineral spirits and large sheets of plastic. For two days we let the oil mixture soak in, re-coating it every 6 hours or so.
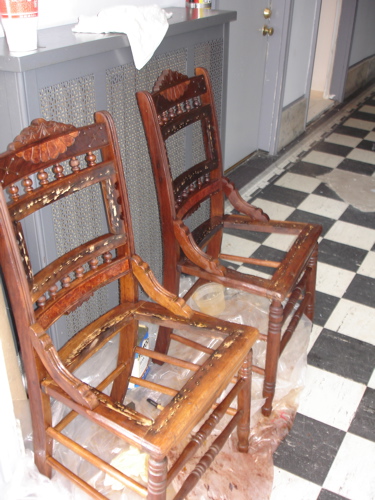
Once two days passed, we began a week-long cycle of straight linseed oil. Every morning we would brush it on liberally and then seal it in plastic. The next morning we would remove the plastic, wipe it down hard with mineral spirits, and then apply another layer of the oil.
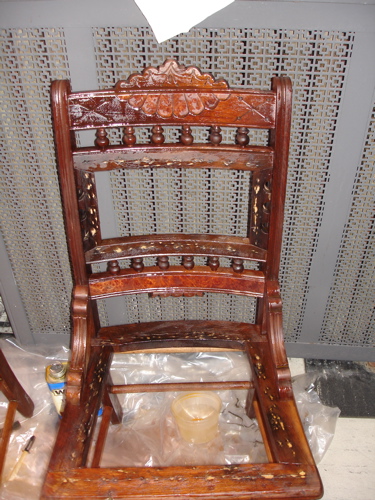
After a week it stopped accepting more finish and a test of the wood on the underside showed that it had soaked in to 1/8″; which is what we were going for.
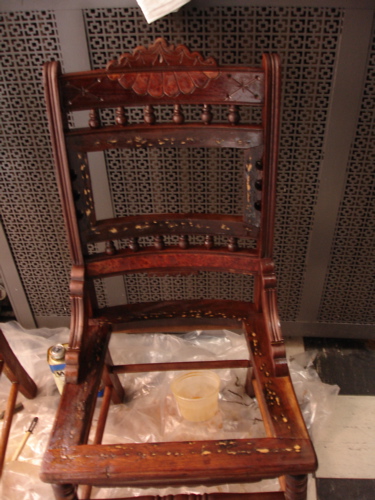
Once the oil started to set, we buffed them down with hard cotton and set them aside. Oil finishes are funny things – they darken over time because of the amount of finish that stays wet. We have found that the cleaner we keep a piece while waiting for the finish to cure, the lighter it stays. Your mileage may vary.

Here is the result of our emergency surgery:
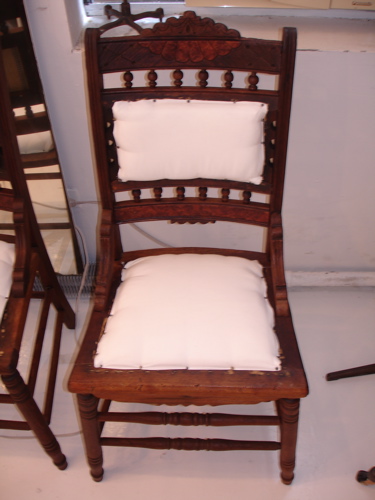
The chairs are stabilized, safe and sturdy enough for general use. They are waiting for their final upholstery treatments.

Our philosophy with furniture that is that you should never do anything unnecessary and anything you do should be appropriate to the age of the piece. The glues we used were animal, the finish was linseed, and the burl was antique. Everything about these chairs is still within the time-line. We wouldn’t think of coating them with polyurethane or plastic fillers. You have to decide how far you want to go – you can’t live in a museum, but for pieces like this, you don’t want to make them freakishly “restored” either. Think of balancing your needs with the value and meaning of the piece.
Oak Bed Conundrum.

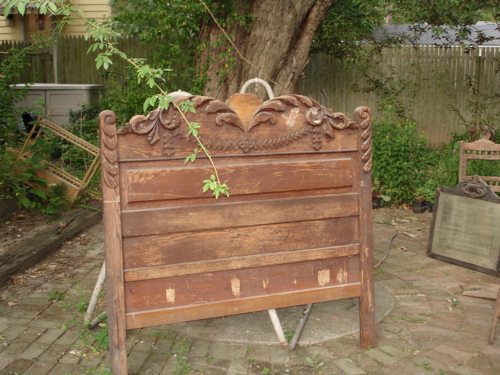
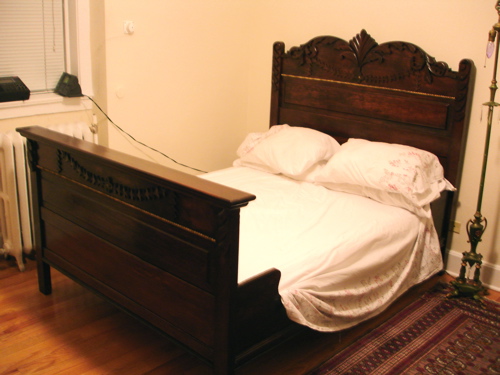
Charles Wheeler ran a small woodworking shop and construction company until he retired in 1929. This bed was part of a set (we are working on the other pieces, so stay tuned).

When we pulled it out of the barn:

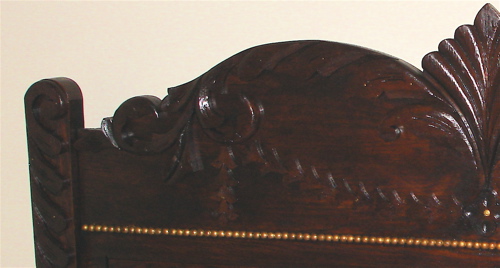
After we fixed the rotting wood and restored the gilding.

This bed was a real problem.

Because of water damage and rot, the color was very uneven. We decided to darken the oak with a tinted shellac finish without stripping it.

Hopefully by the time the entire set is pulled out and fixed, we will have come to a decision about the finish and level of rehab we want to/can/should give it.

Lets see what the dresser, mirror, and matching bookshelves look like when we get them and we will go from there.

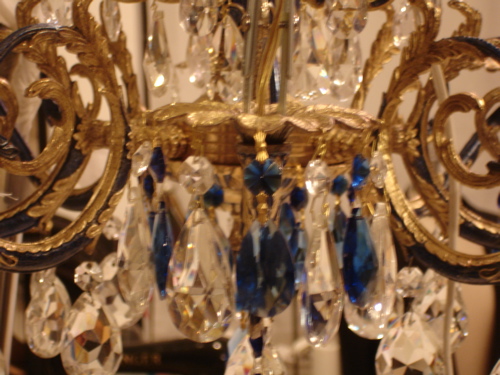
Mama’s Chandelier (big)

We opened the crate marked “Mama’s Chandelier: BIG” and didn’t know what to expect.

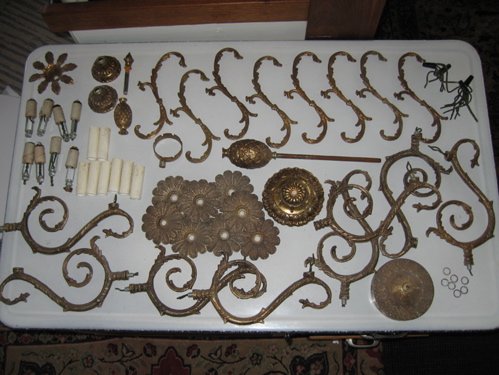
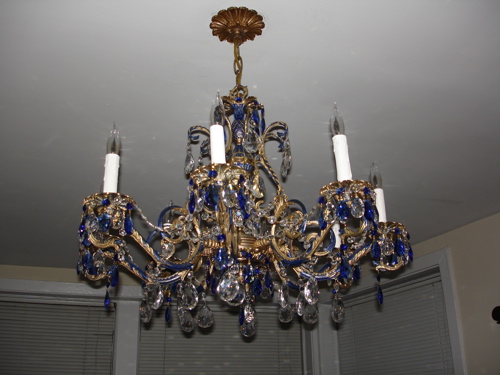
Here is what we had once the dust settled and everything was out on the table:

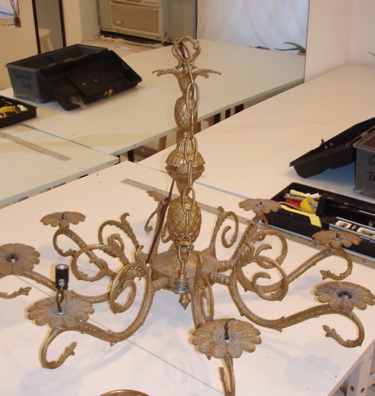
We put it back together to see what we were working with, and sourced some of the scrolls we were going to need to replace:

It was painted with bronze paint, but under it was fairly intact gold leafing. This was one of those “Huh?” moments, as gold leaf doesn’t tarnish and gilding does…

In any case, we set about with a paintbrush and denatured alcohol to remove the gilding. Once we got it down to the real finish, we looked it up – this wasn’t some rare specimen, and parts were fairly easy to find, so we got permission to have some fun.

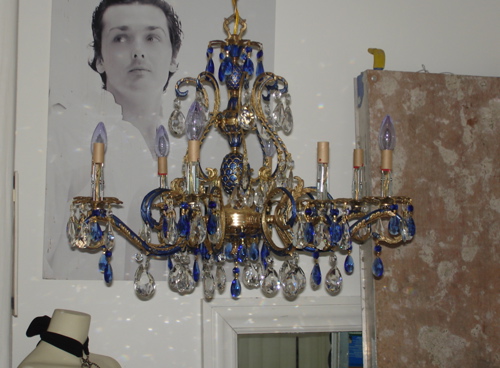
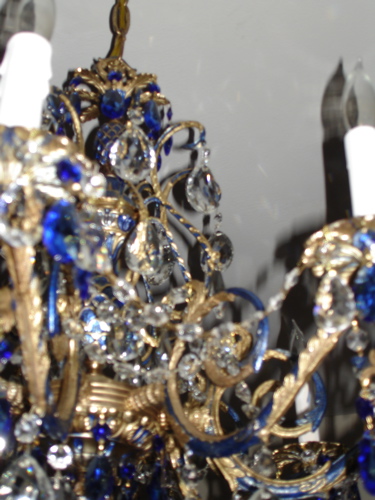
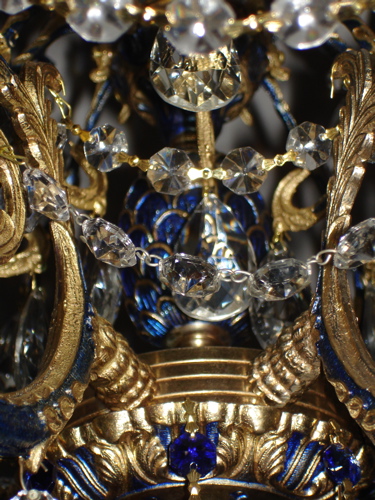
We mixed a simple cobalt and thinned it with super-refined linseed oil (straight, not boiled) to paint the recessed parts of the fixture, trying to give it a sense of cloisonné.

We like the finished result.

Now we just need to talk them into buying some drapes to go with it and get rid of those miniblinds…

Everything and the kitchen sink.

We have a strong anti-consumerist bias. Almost all of our work in the workroom – from the gutting and subsequent buildout of the five spaces to the installation of tables, desks, and lighting – was done using recovered and salvaged materials when possible.

The kitchenette area off of our offices was no different.

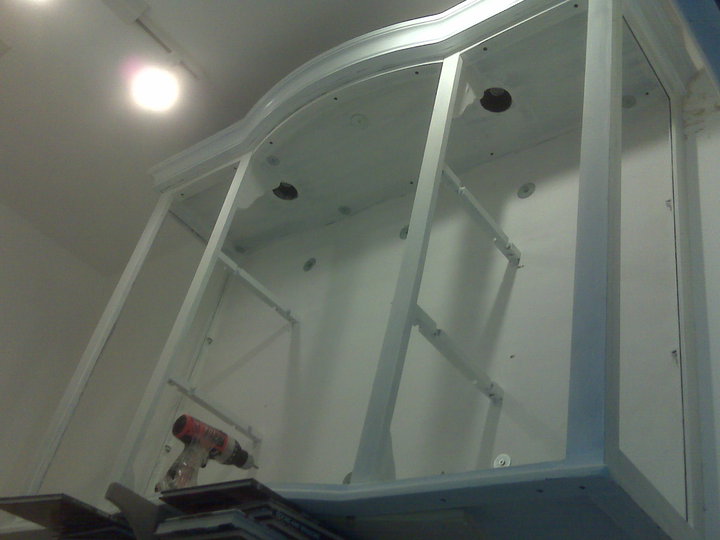
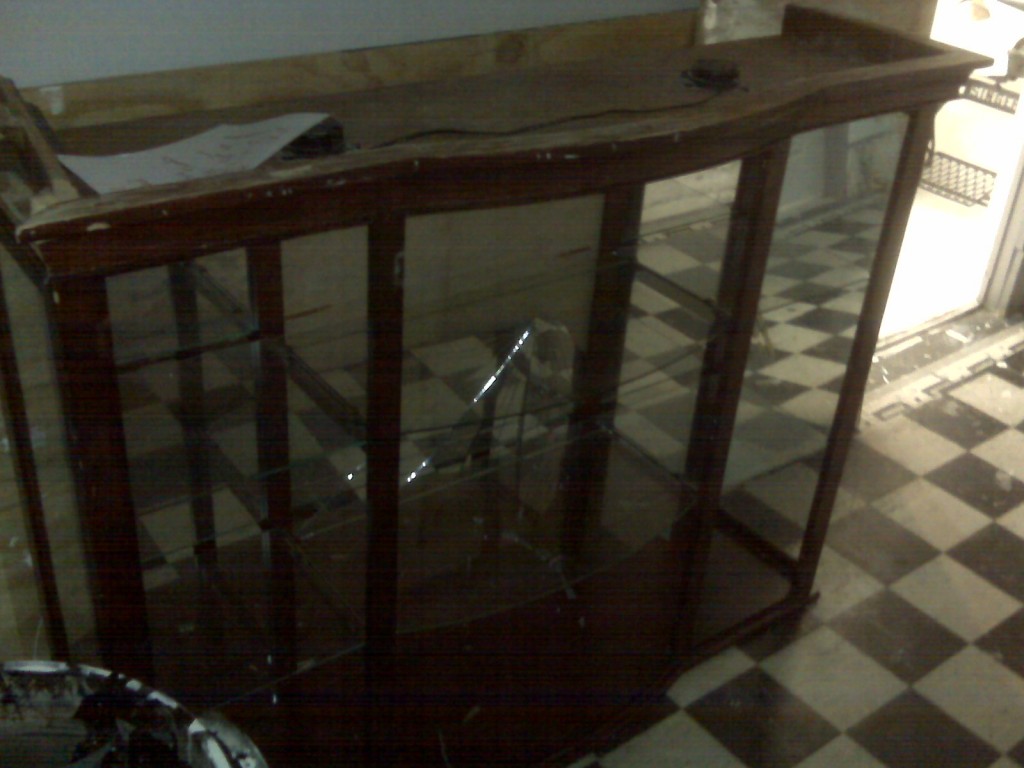
We found the perfect cabinets as the developers across the alley did their thing. Here is what we had to start with:

Original cabinets for kitchenette

Cabinets before we worked our magic.

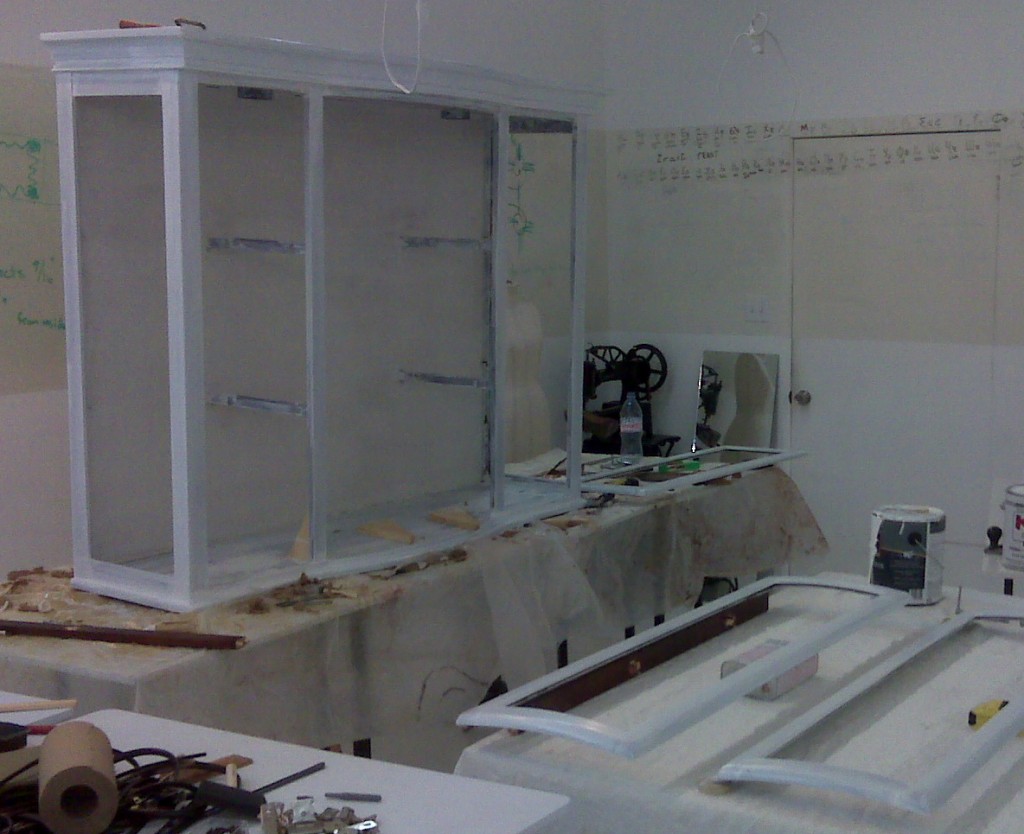
After we finished reinforcing them to be hung, we reglued the joints, stripped them, primed and painted them.

After scraping and disassembly

Scraped, sanded, and taken apart.

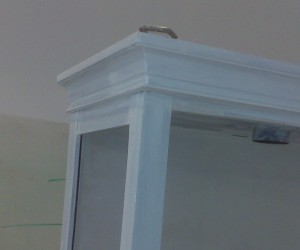
The side of the molding had been crushed and broken away, so we needed to do one quick repair:

repair of moulding

Not bad for so much damage.

We used Behr brand porch and floor paint in latex enamel, brilliant white.
We then built out a support from the ceiling in the kitchenette area to make sure that this mass of wood and glass would be supported from the ceiling as well as the wall using 4 inch lag bolts with 3 inch support washers

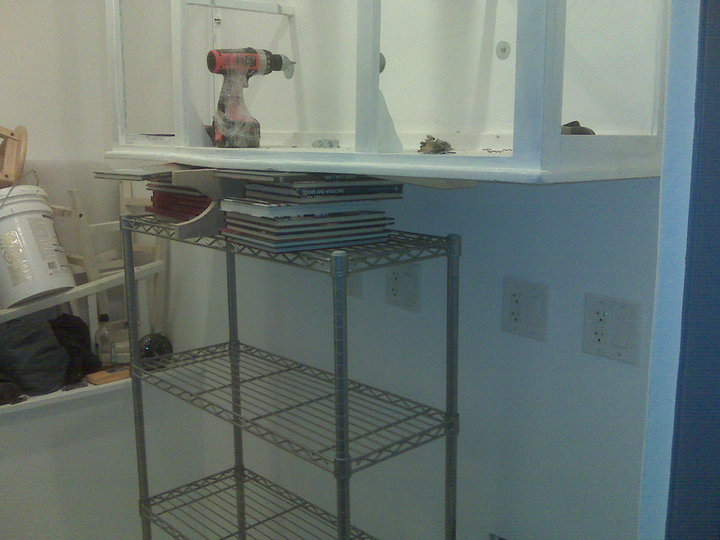
We had some issues getting it up on the walls and plumb, so here was the solution:

How to level cabinets when you hang them yourself.

How to level and hang cabinets without help.

We used a wire shelving system on casters, shimming the cabinet up 3/8 of an inch at a time to get it level and flush before drilling in the lag bolts.

Cabinets on wall before finishing.

After the cabinet is fixed in place.
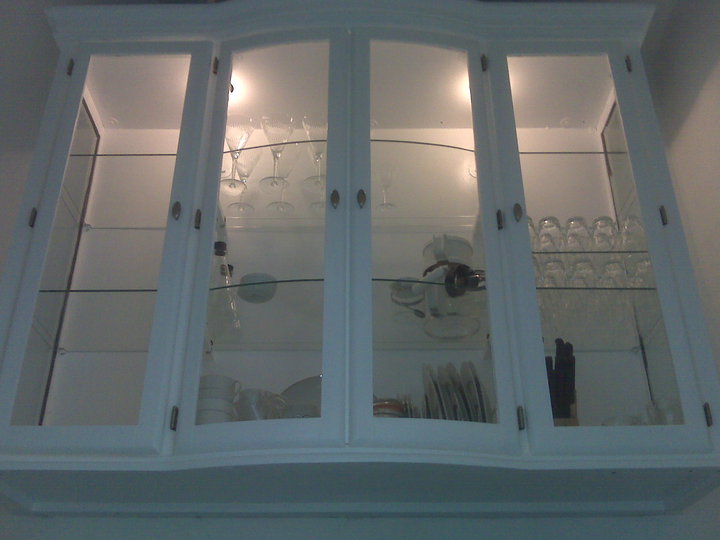
We then replaced the glass, doors, and trim and here we go:

Finished cabinet installation at Tchad workrooms.

Not bad. Not bad at all.

Like Emerging From Purgatory…

When we took over the spaces at 4403 N Sheridan in 2003, we started small.

Really small.
Like 210 square feet kinda small.

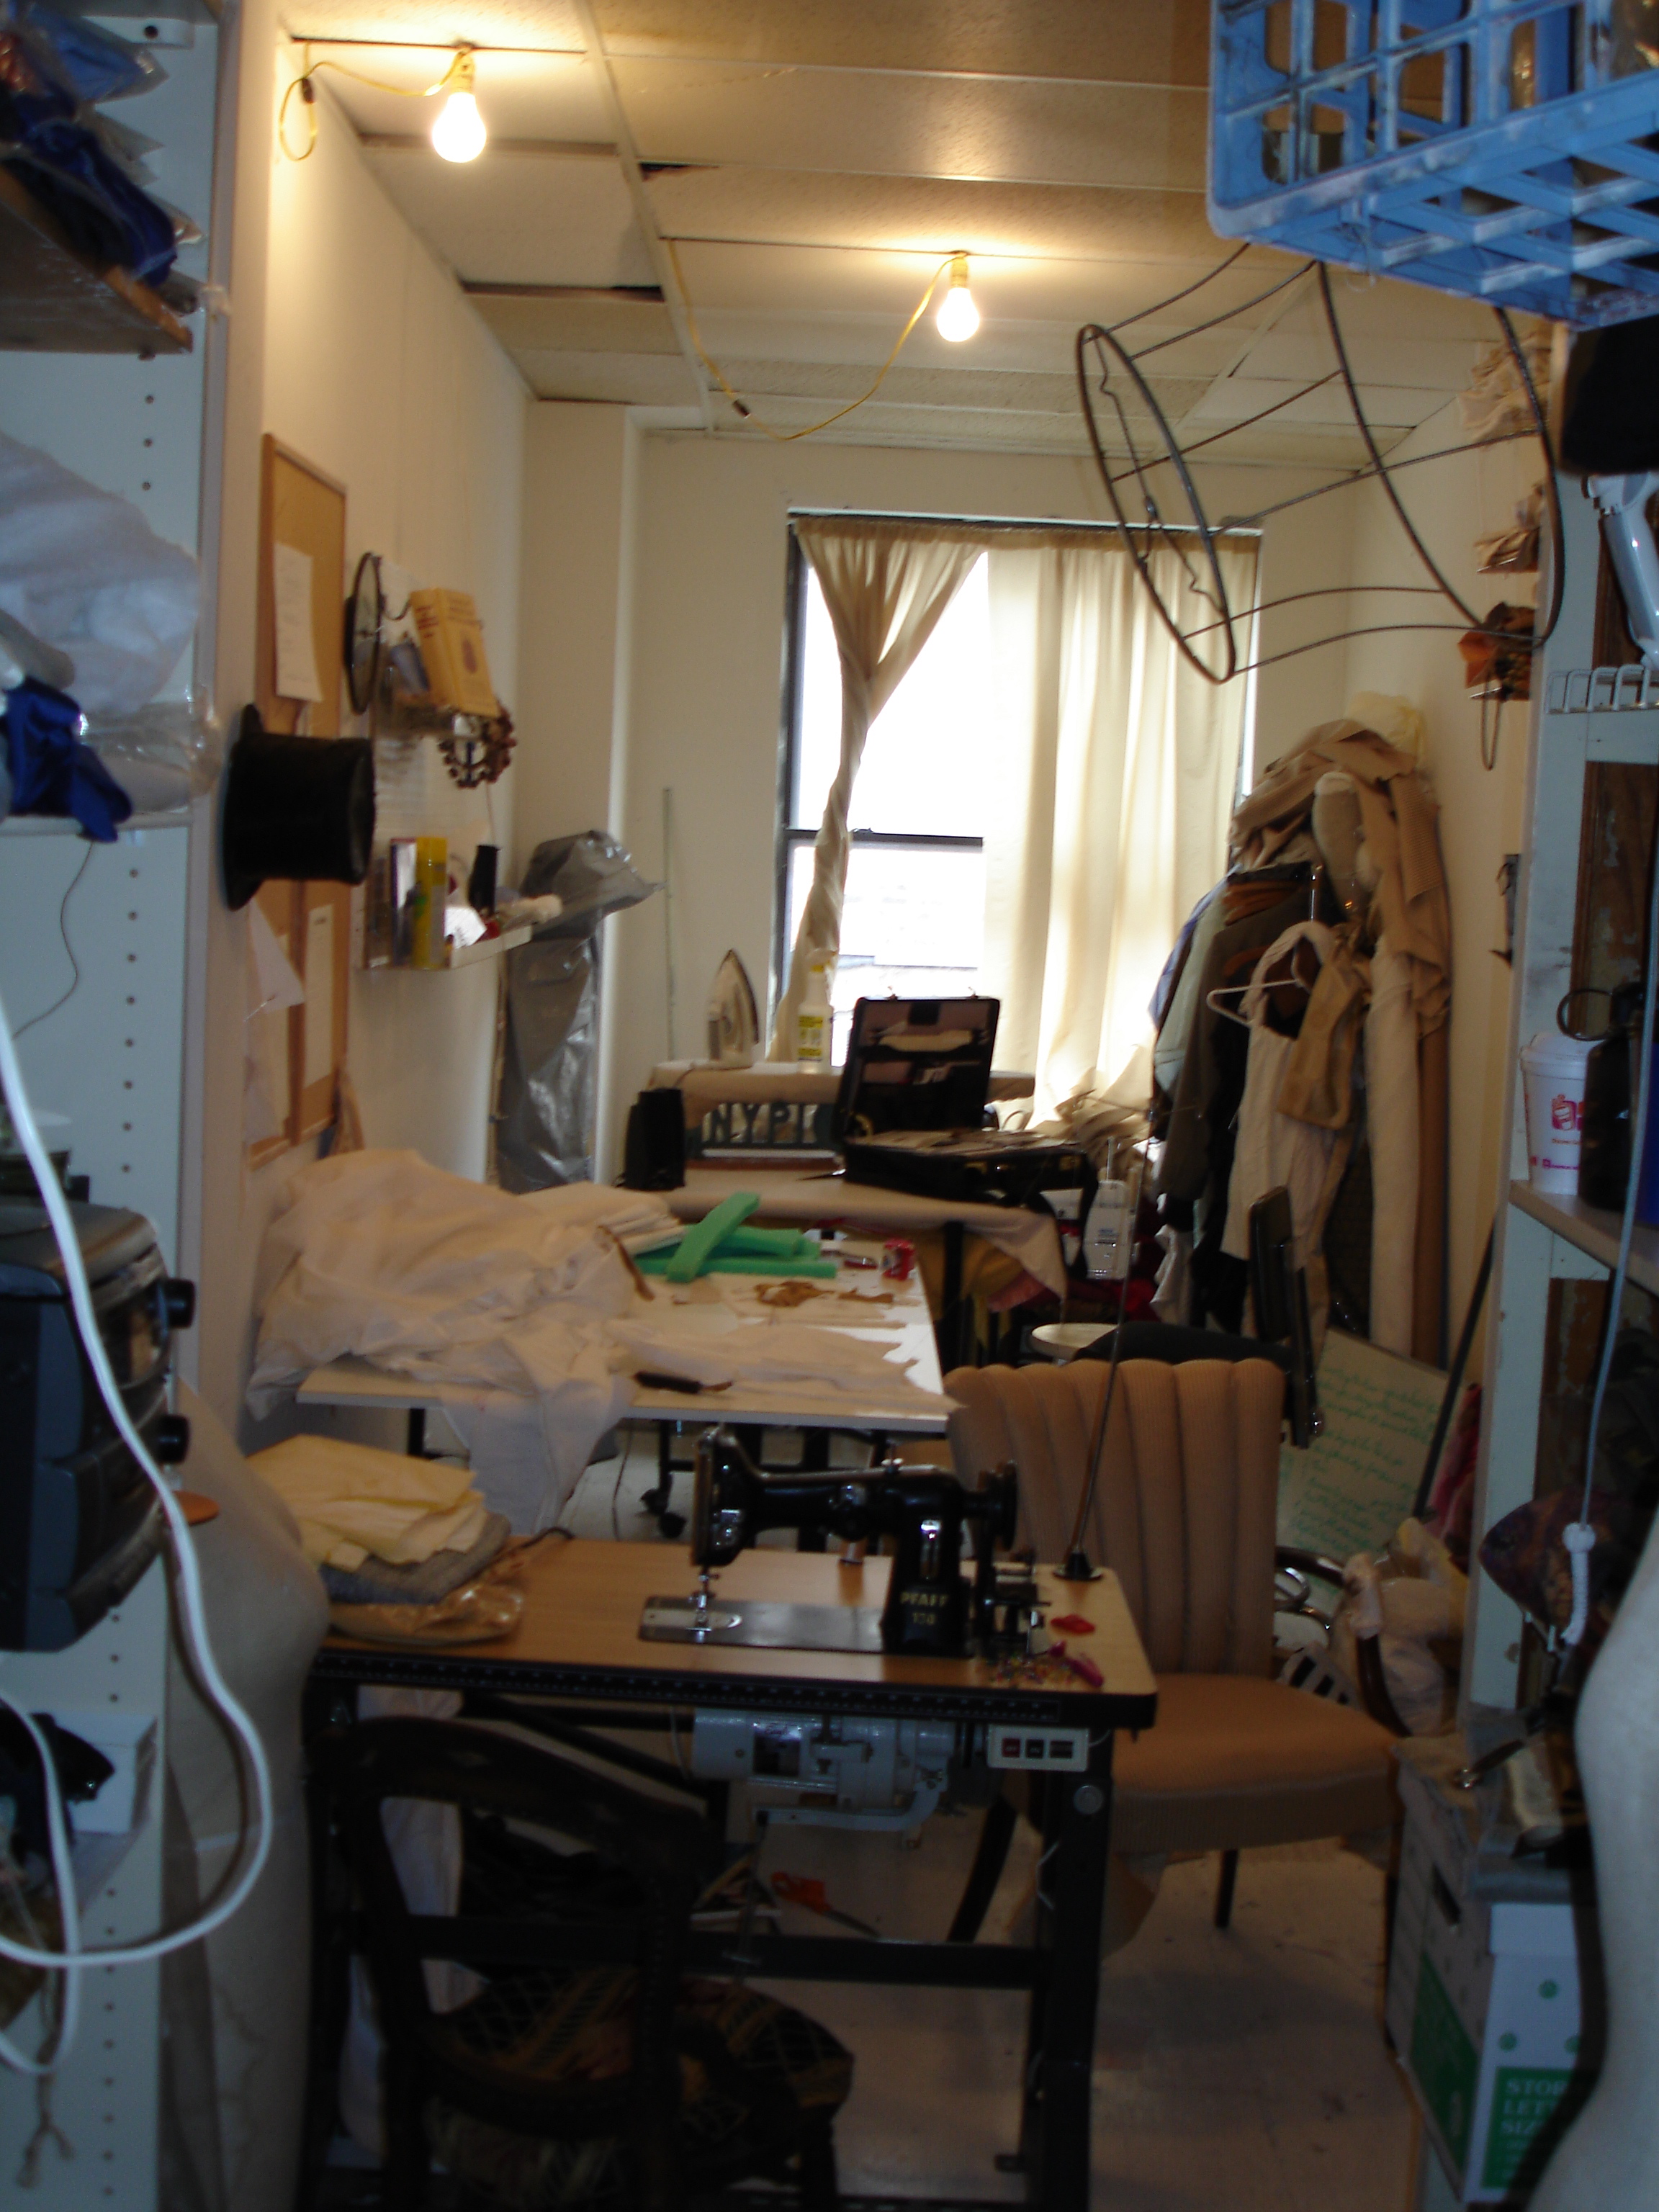
View of original workroom

Original Workroom #203

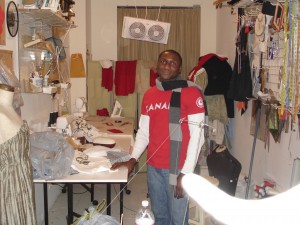
Borris Powell in #203

Draughting!

This is the first space we had: #203. That’s right: 7×30 feet. We weren’t running full classes at the time – Tchad was still working for VSM International, the company that manufactures Viking brand sewing machines and couldn’t take the time to expand with his corporate job. The only students who have seen this space were our dedicated design students: Borris Powell (of
Borris Powell Designs) and Amanda Kezios (of Mojospa).

We were working with a number of private clients, but we were strictly using #203 as a factory in miniature. All of our fittings and deliveries were taken directly to the client so they didn’t have to deal with cramped quarters. Scores of dresses and interior projects came out of this little space.
Tchad Floor Stamp

Making one's mark.

All of that changed in the Spring of 2004 when #205, the space to the North opened up. Tchad had quit his job teaching for VSM and was ready for a challenge.

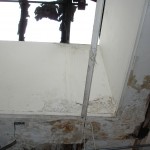
Skylight

OH! A skylight

Well, a challenge is certainly what we got.

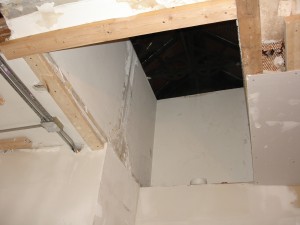
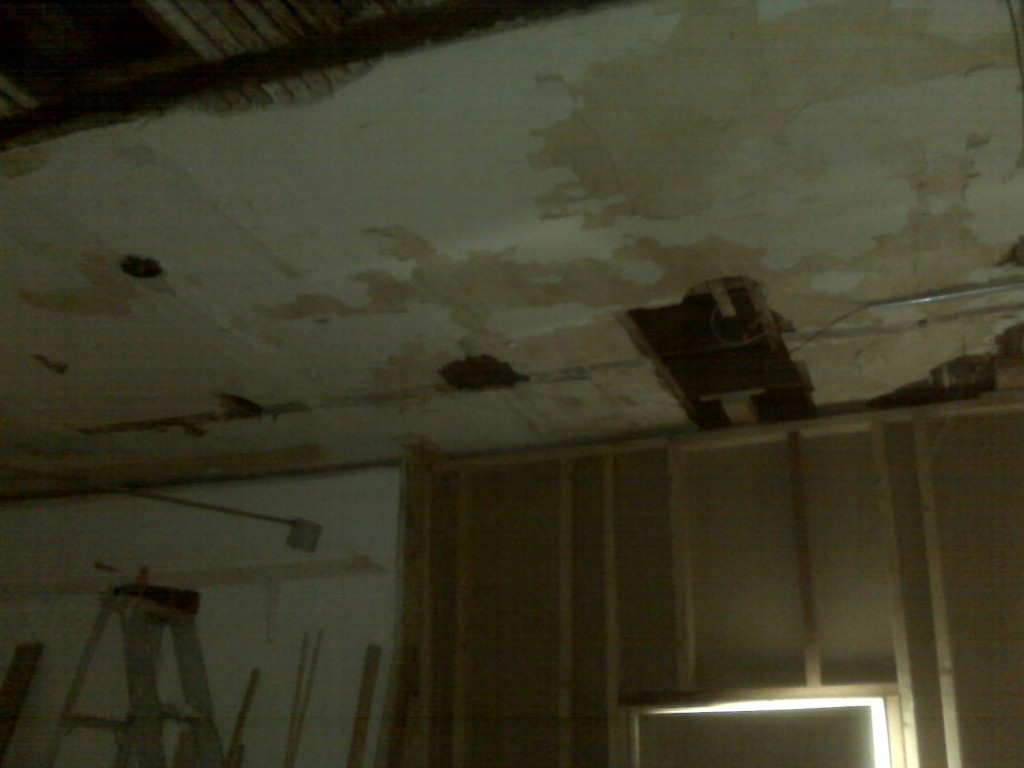
After the drop ceilings came down, we got a real sense of what we were up against. Turns out the ceilings had been put up for a reason. We aren’t terribly fond of the “it’s good enough for government work” mentality that permeates the Ohio River Valley we grew up in, so we rolled up our sleeves and got to work.

This had to be right.

Almost makes "The Rat Incident" worth it.

When you start a rehab project, you should anticipate surprises. Sometimes they are expected, like when you find out that some joker has cut the electric lines and there they sit – quite live. Sometimes they are unpleasant, like when you find a desiccated rat tangled in a pair of size 34-waist men’s briefs (sorry, no pic but: yes. Yes we did. Our first thought: “Fruit-of-Rat’s-Tomb” we aren’t terribly clever here). And sometimes you are very pleasantly surprised, like when you discover a large 2.5×6 foot functioning industrial skylight under your dropped ceilings.
Jackpot.

Now…

We had written a long, drawn-out spiel about what and how we grew from #203 to #201-209.

We were going to drone on and on about the first expansion when we took over #205 and added it to #203, then the second expansion when we took over #207, then the heartbreak of taking over #209 (it had been used as a hiding-place for feral cats). We were going to post and boast of the joy of laying lime plaster and our crazy skills with hanging 5/8″ drywall single-handed. Maybe some things about how we developed a method to eliminate basebaords and door trim. Some kind of celebratory look-at-us when we finally expanded to our physical limits and took over #201.

There was going to be something here about how we single-handedly rehabbed the building’s public restrooms with pictures that would make the world’s most jaded DCFS agent cringe.

We were going to write about the struggle of self-financing this much work and the pride we take in doing things for ourselves and how we feel that the creative community in general is held back not by a lack of spirit, but rather by a lack of functional knowledge of how to make things happen instead of relying on others or complaining/inventing excuses.

Throw in a few paragraphs about having had to scale back the client-side of the business since 2007 for lack of infrastructure, time, or energy and how that has held back our design work for three years.

All of it with pictures documenting our work, pain, and progress.

But no.

We are chomping at the bit to get everything underway.

Let’s let a couple of pictures speak for themselves.

Dust masks are trés fashionable!

How Tchad has looked for the past three years when not teaching classes.

After dropped ceilings came down

Bad. Really bad. Everything looked like this.

So here we are, writing about this in late September of 2010.

We have moved on, grown up, and:

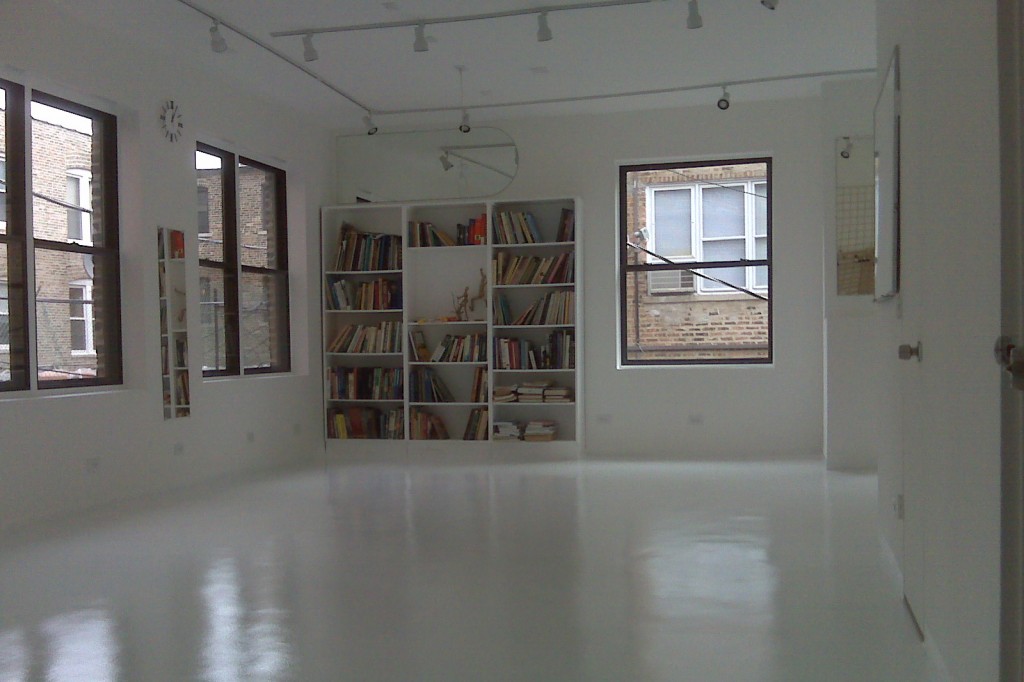
Our space is set and we are ready to go.


NEW SPACE!

201-203

Gallery & Workroom...

209 Tchad Chicago Classroom

Classroom

New Classroom!

Classroom 209

Let’s do this!

We are working on it!

So the old general Tchad.biz blog just wasn’t cutting it and here we are.
The blogs have been divided up into separate sites for Projects, Classes, and Design. This is going to be the first post for each of them.
This has turned out to be the default image when we are working on stuff:

Coping Marble at the Sheridan-Montrose building in Chicago.

*chip*chip*chip* We are getting there! *chip*chip*chip*

That’s right. Coping Marble. This pic was from the 2007-8 bathroom restoration at the Sheridan-Montrose building where we have our workrooms. What you aren’t seeing is the aftermath…

After having coped out the perfect ridge in the base of the 2 inch marble slabs, we stood it up and walked over to another part of the hall… CRASH …and a 100 year old piece of marble crashed into hundreds of pieces.

Hopefully the build-outs of the blog will go better.